|
Proposal Submission For N-PDF
Before Submission please note that:
-
You have registered into the system.
-
You have filled all the mandatory details in User Profile section.
Click on the option Proposal Submission to see the submenu, as shown in Figure 3.1. The options available are:

Figure 3.1
Note: It is mandatory to fill in the "Mandatory Information " form in "User Profile" menu before filling "Form Submission" section of "Proposal Submission". If your profile is filled the dashboard will display that "your profile is ready for proposal submission".
Form Submission
Different details of Application are to be filled in the format presented. Click on the Form Submission submenu (highlighted),as shown in Figure 3.2.

Figure 3.2
After selecting the submenu Form Submission from the menu, the form will appear, as shown in Figure 3.3. Select the N-PDF scheme under which you want to submit the proposal.

Figure 3.3
On selecting the scheme, the page will appear as shown in Figure 3.4. After reading the instructions and guidelines carefully , please click on the button Start Proposal Submission" to go to next screen of Proposal Submission Form.
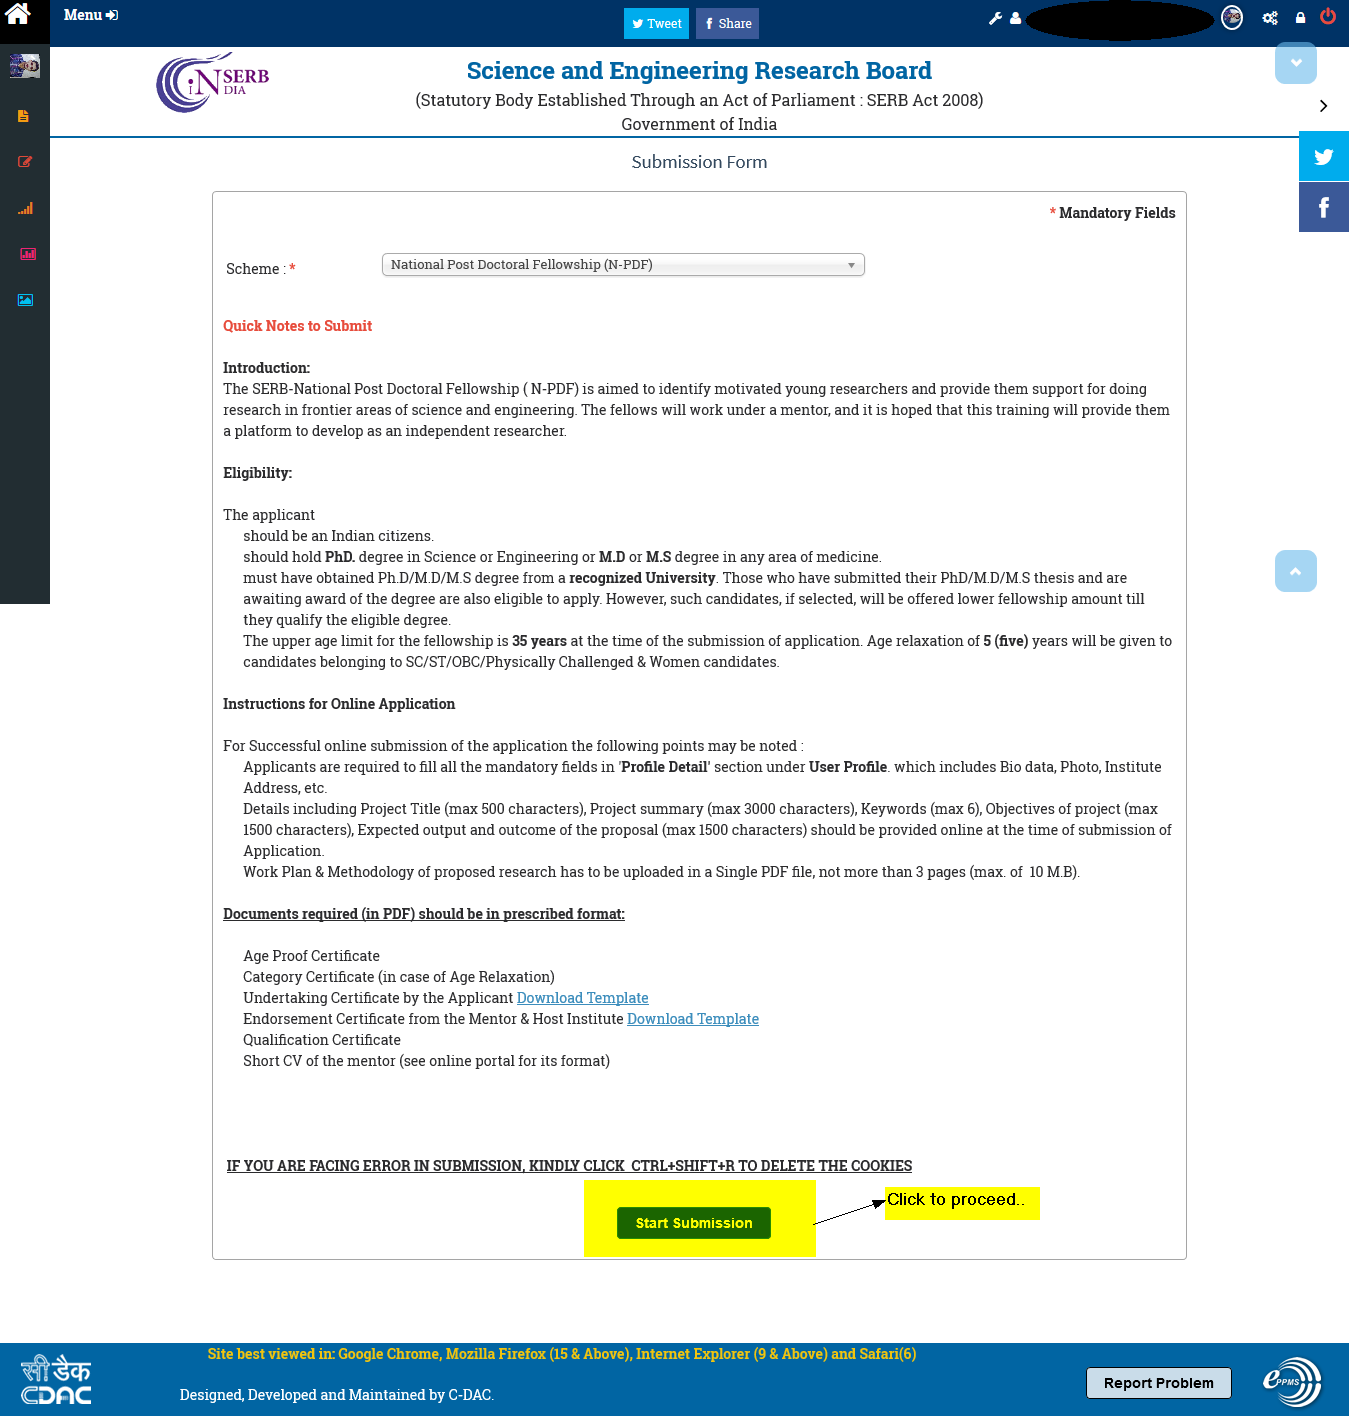
Figure 3.4
After clicking the button, the application form as shown in Figure 3.5 appears.

Figure 3.5
Fill in the details of Name of the Father or Spouse in text box at the bottom. All the details in the form are saved automatically. After filling the information you can click on next button at the bottom to go to next section of Application form.
Figure 3.6
-
Fill in all the details of your Qualifying degree in this section. If the Qualifying Degree has been awarded to you then select YES in highlighted checkbox and enter the date on which the degree was awarded.
-
In case degree is not yet awarded to you then select the NO in highlighted checkbox and enter the date when you submitted the thesis for Qualifying degree.
After submitting all the details in this section , click on the Next button highlighted at the bottom to go the next section. If you want to go to the previous section, then you may click on Prev button at the bottom.
NOTE : Fields marked with red asterisk(*) are mandatory.
After filling all the Qualifying degree details, next section will be Technical Details of your Proposed Research as shown in fig 3.7
Figure 3.7
Fill in the details like Title, Summary , Expected Output and outcome and Keywords in this section.
You need to attach a PDF file containing information of the detailed methodology and work plan of your proposed research.
NOTE : Fields marked with red asterisk(*) are mandatory.
After filling all the Technical Details of Proposed Research, next section is Mentor Details as shown in fig 3.8
Figure 3.8
Fill in the details of the Mentor under whom the proposed research would be carried out . Click on next to go to the next form as highlighted in the figure.
NOTE : Fields marked with red asterisk(*) are mandatory.
After filling all the Mentor Details ,next form will be Upload Documents as shown in fig 3.9

Figure 3.9
In this section you have to upload all the required documents for this fellowship.
1. First select the file Document Name from the select box.
2. Click on the browse button to select the file you want to upload from you local machine
After the file is uploaded, it will be shown to you in the table at the bottom.
3. If you want to delete some file or want to upload the file again then first delete the file by clicking on the Cross icon as highlighted and upload the file again by selecting from the select box.
4. After uploading the mandatory files click on the Next button to go to next section.
After Uploading all the mandatory documents ,next section will be Reference Details as shown in fig 3.10
Figure 3.10
-
-
Fill in the details of the two reference persons who can testify your qualification for the proposed research.
-
Make sure that one of them must be Your Ph.D/M.D/M.S supervisor or Guide.
NOTE : Fields marked with red asterisk(*) are mandatory.
After filling this section, click on the Preview & Submit Proposal button highlighted at the bottom to go to final section of submission of Application.
At this stage All details provided by you in the various sections will be validated by the system, and if any mandatory detail is pending in the form then system will redirect you to that particular section.
If all the details provide by you are validated then system will move to the final section of Application Submission as shown in fig 3.11
Figure 3.11
You can view your complete Application by two different options, as shown in Figure 3.11:
- Download Proposal PDF :This will download the single pdf containing whole Application along with documents uploaded by you..
- View Proposal in HTML :This will open a pop-up window which will display the complete Application in multiple sections..
Check the declaration and click on Submit button, as shown in Figure 3.12.
Figure 3.12
After submitting, the page will ask for confirmation of form submission, as shown in Figure 3.13.
Figure 3.13
Click on OK, and a pop-up message will display that your proposal is successfully submitted, as shown in Figure 3.14.
Figure 3.14
Saved Proposals :
Click on the Menu and select the Saved Proposal from the Proposal Submission to see the different proposals you have filled and saved but not submitted, as shown in Figure 3.15.

Figure 3.15
The page will appear as shown in Figure 3.16.

Figure 3.16
Select a proposal as shown in Figure 3.17. The numbered features are:
-
Submit Proposal :This will lead to submit proposal form.
-
Edit Proposal :This will open full proposal and you can edit different details from there.
-
Delete :This will delete the Proposal.
Figure 3.17
Submit Proposal :
Select the proposal to be submitted and click on the Submit Proposal button, as shown in Figure 3.18.
Figure 3.18
After selecting Submit Proposal, the page will appear as shown in Figure 3.19. Click on the checkbox and then on Submit button.
Figure 3.19
After submitting it will confirm for submission of proposal, as shown in Figure 3.20
Figure 3.20
The pop-up message will display that your proposal has been submitted, as shown in the Figure 3.21.
Figure 3.21
Edit proposal :
Select the proposal to be Edited and click on the Edit Proposal button, as shown in Figure 3.22.

Figure 3.22
After selecting Edit Proposal button the system will redirect you to first form of the particular proposal as shown in Figure 3.23. You can edit the details by selecting the proper process from Progress bar on the top. After Editing select Preview & Submit Proposal process from the progress bar to submit proposal.
Figure 3.23
After selecting Review & Submit Proposal, the page will appear as shown in Figure 3.24. Click on the checkbox and then Submit button.
Figure 3.24
After submitting, the page will ask for confirmation of form submission, as shown in Figure 3.25.
Figure 3.25
The pop-up message will display that your proposal has been submitted, as shown in the Figure 3.26.
Figure 3.26
Delete Proposal :
Select the proposal to be deleted and click on the Delete button, as shown in Figure 3.27
.
Figure 3.27
After clicking on Delete, the page will ask for confirmation, as shown in Figure 3.28.
Figure 3.28
The pop-up message will display that your proposal has been deleted, as shown in the Figure 3.29.
Figure 3.29
View Submitted Proposal
Click on the Menu and select the View Submitted Proposal from the Proposal Submission to see the different proposals you have filled and submitted with their current status, as shown in Figure 3.30.
Figure 3.30
After selecting it the page will appear,as shown in Figure 3.31. The numbered features are:
-
Radio Button : This is used to select a particular proposal.
-
Proposal Name : This is a hyperlink which on click will display full proposal.
Figure 3.31
Select a proposal as shown in Figure 3.32. Click on the View Document button to display the list of documents submitted.
Figure 3.32
After selecting View Document button, a pop-up window will open containing the list of documents with their respective status for the selected proposal. The "right" mark shows that document is submitted and "cross" mark shows that document is not submitted, as shown in Figure 3.33.
Figure 3.33
Select a proposal as shown in Figure 3.34. Click on the Proceedings button to display the list of Actions taken on the submitted proposal.